
The Art of Crafting Panama Molas: A Colorful Journey
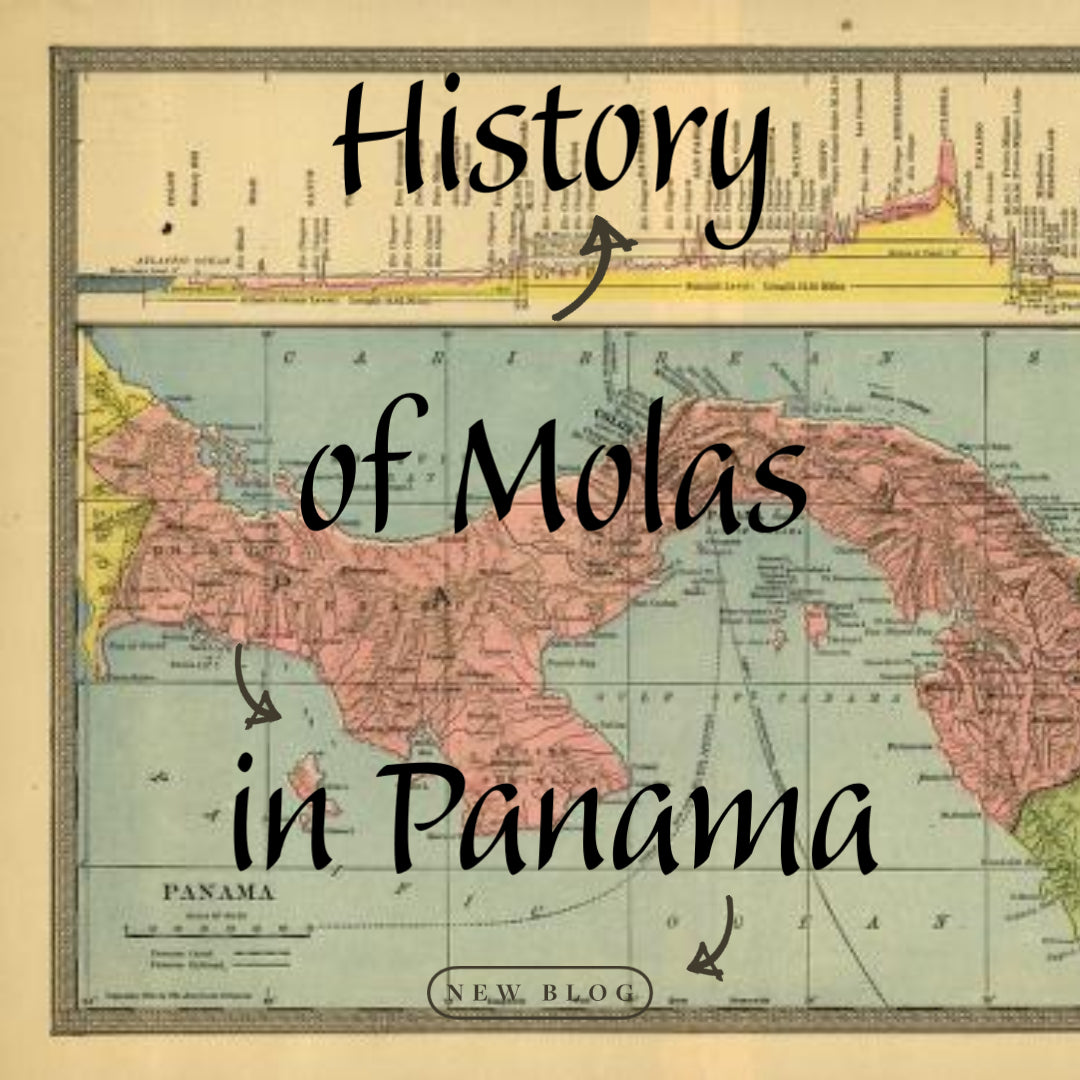
Panama molas are an essential part of the rich cultural heritage of the Guna people, an indigenous group primarily found in the Guna Yala region of Panama. These vibrantly colored and intricately designed textiles are not only an exquisite form of artistic expression but also a symbol of the Guna's identity and history. In this blog, we will explore the fascinating process of making a Panama mola, from its origins and inspiration to the skilled techniques employed by Guna artisans.
The Roots of Molas
Molas originated in the early 20th century as a form of body art, with the Guna women painting traditional geometric patterns directly onto their bodies. However, with the arrival of European settlers and the introduction of fabrics, the Guna people transitioned from body painting to textile art. They began creating molas by layering and stitching together colorful fabric panels, a practice that continues today.
The Inspirations Behind Mola Designs
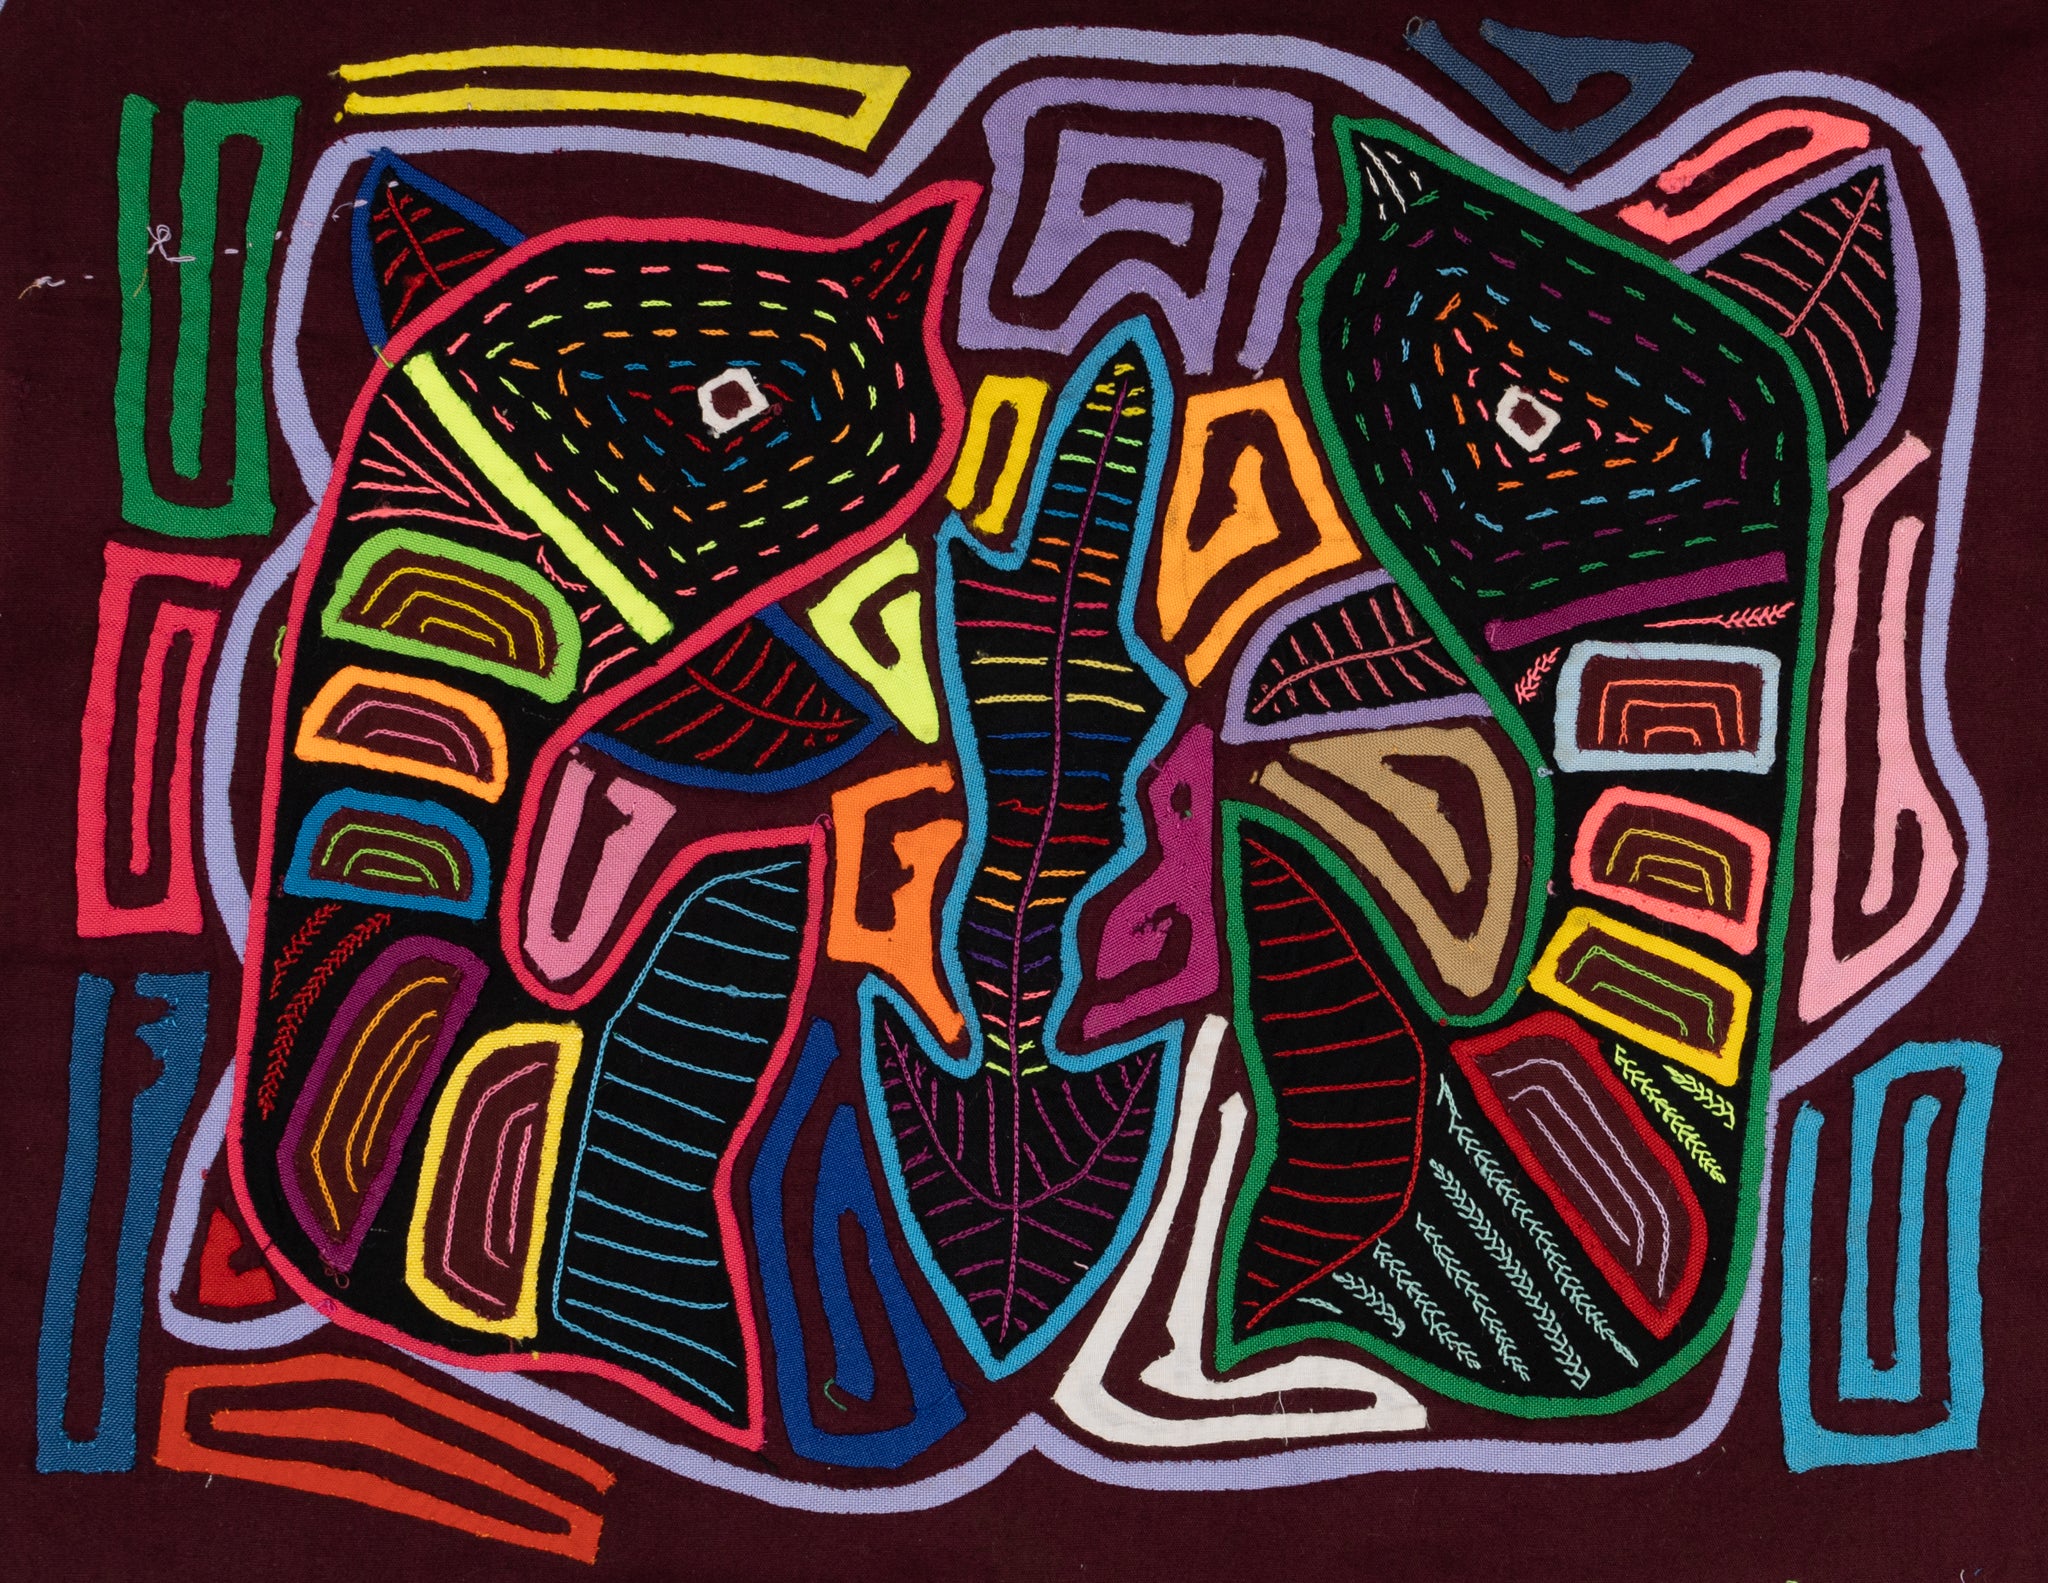
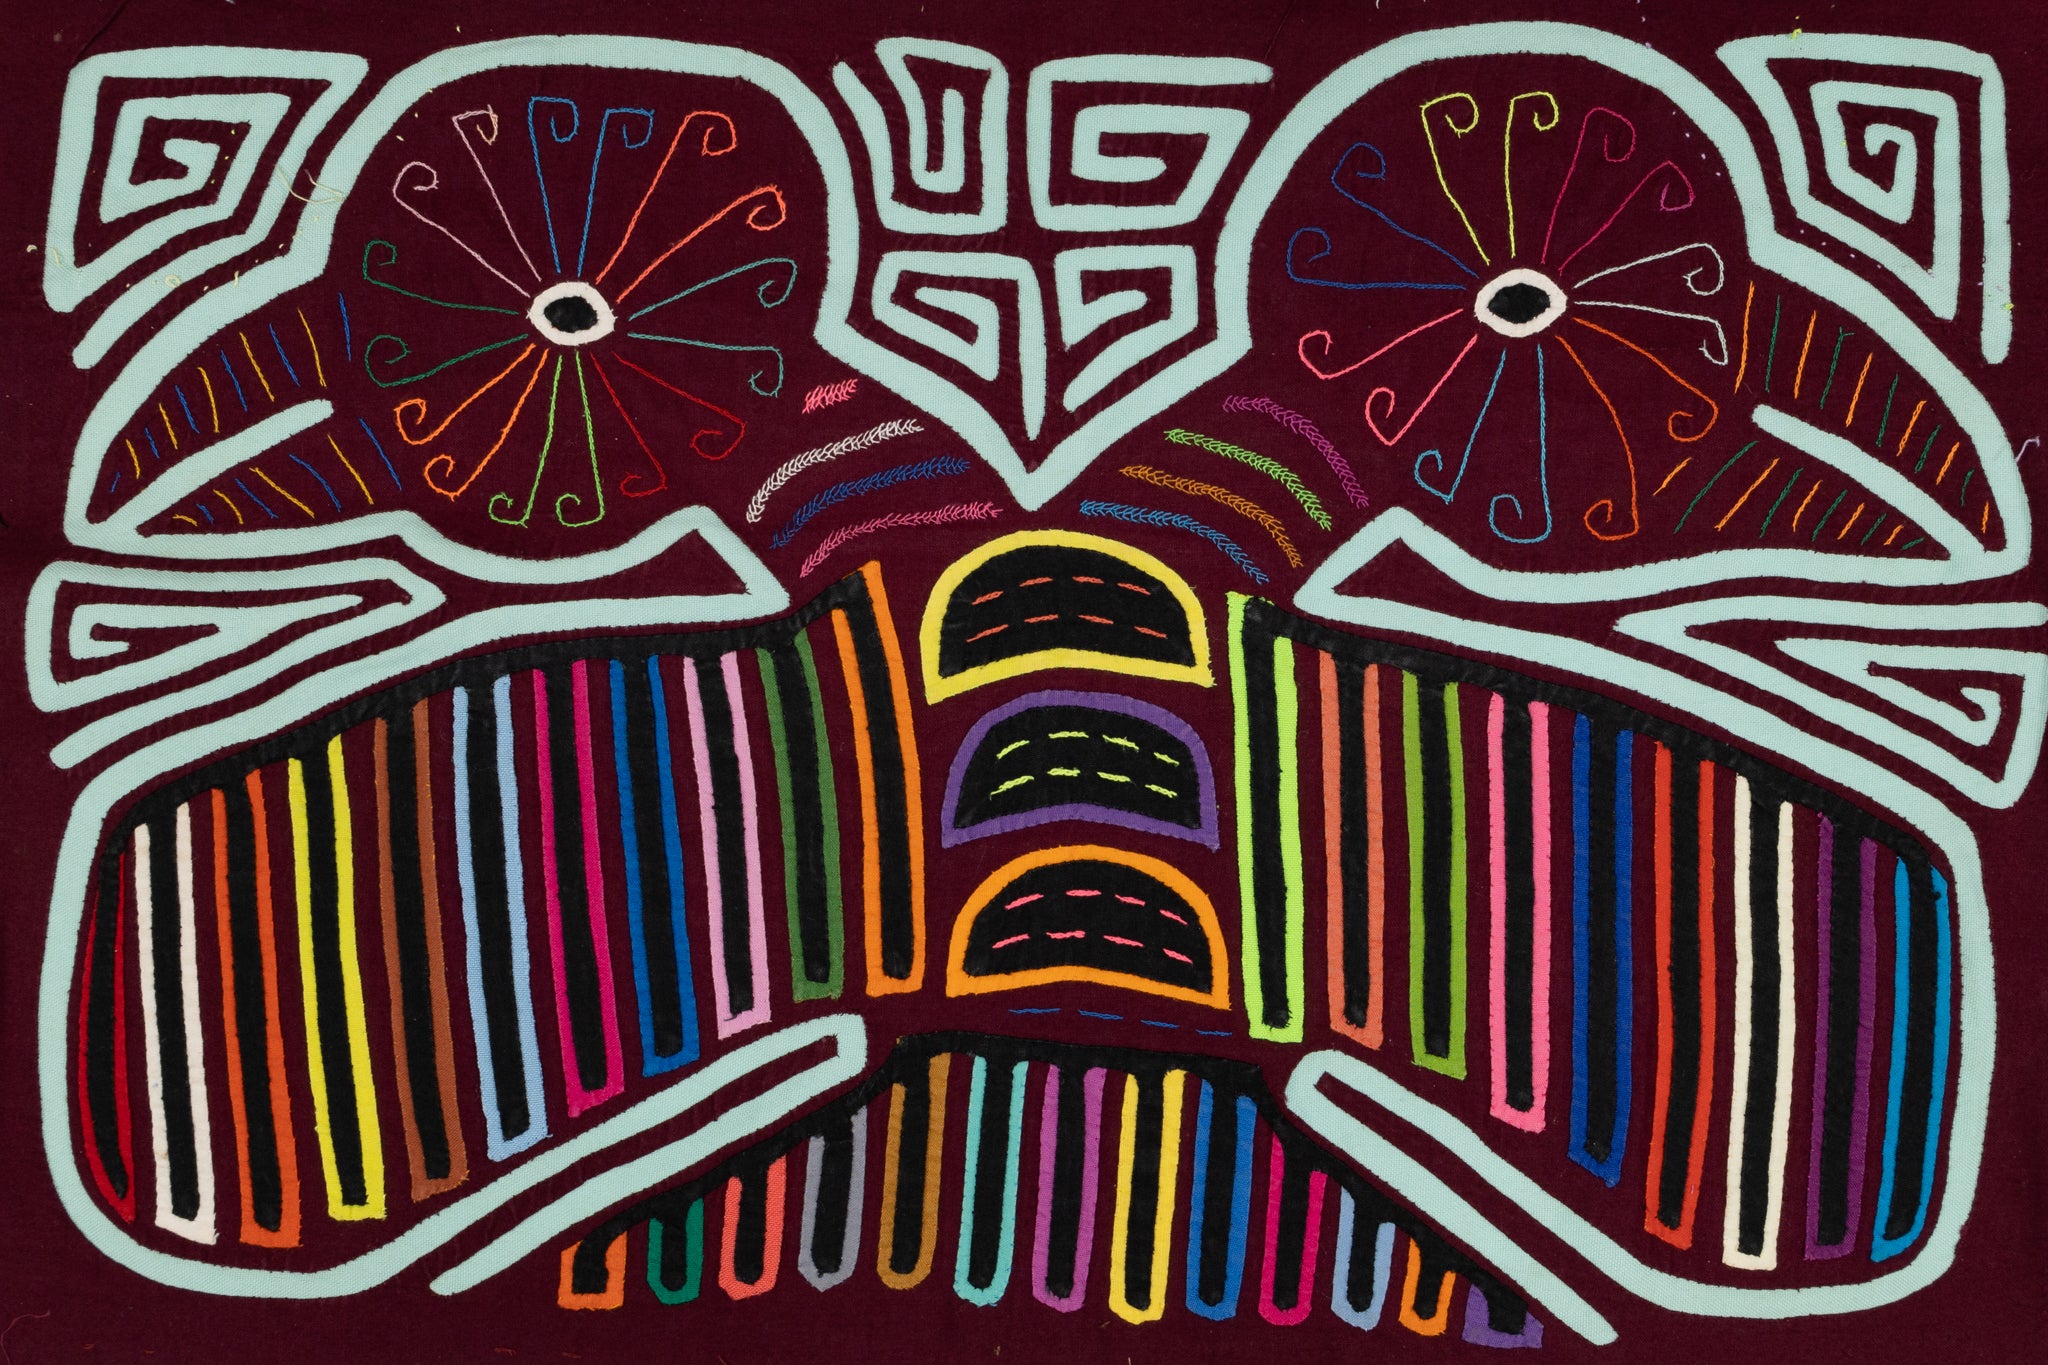
Mola designs are influenced by various sources, including nature, spirituality, daily life, and contemporary culture. Many patterns feature animals, plants, or mythological figures, while others showcase abstract shapes and geometric patterns. As the craft evolves, modern mola designs may also incorporate themes from popular culture or current events, showcasing the adaptability and creativity of Guna artisans.
The Making of a Mola
-
Selecting the fabrics: The mola-making process starts with the selection of fabrics. Guna women typically choose brightly colored cotton materials in contrasting shades, ensuring that the patterns will stand out vividly. The fabrics are cut into large rectangles, which will later be layered and stitched together.
-
Designing the pattern: The artisan then sketches a design onto the top layer of fabric, either freehand or using a template. This design will act as a guide throughout the stitching process.
-
Layering and basting: The fabric layers are stacked in the desired order, with the top layer featuring the design sketch. The layers are basted together temporarily to prevent them from shifting during the sewing process.
-
Reverse appliqué technique: Guna artisans use the reverse appliqué technique, which involves cutting away sections of the top fabric layer to reveal the contrasting color beneath. The artisan carefully cuts along the design lines, removing the excess fabric and exposing the underlying layers. This process is repeated for each layer until the desired depth and color contrast are achieved.
-
Finishing touches: The cut edges of the fabric layers are carefully folded under and sewn down to create a smooth and polished appearance. Additional decorative stitches, such as embroidery or running stitches, may be added to enhance the design and secure the layers in place.
-
Assembling the final piece: Once the mola panel is complete, it can be incorporated into a variety of items, including clothing, accessories, and home décor. Traditional uses for molas include sewing them onto the front and back of a blouse, called a "mola shirt," which is worn by Guna women as part of their traditional attire.
Conclusion
The creation of a Panama mola is a labor-intensive and skillful process that reflects the rich cultural heritage and artistic prowess of the Guna people. These vibrant, eye-catching textiles are not only a testament to the talent of Guna artisans but also serve as a symbol of their history, identity, and resilience in the face of change. As we appreciate the beauty and complexity of these works of art, we are reminded of the importance of preserving and celebrating the unique traditions and stories that make our world so diverse and colorful.
Leave a comment